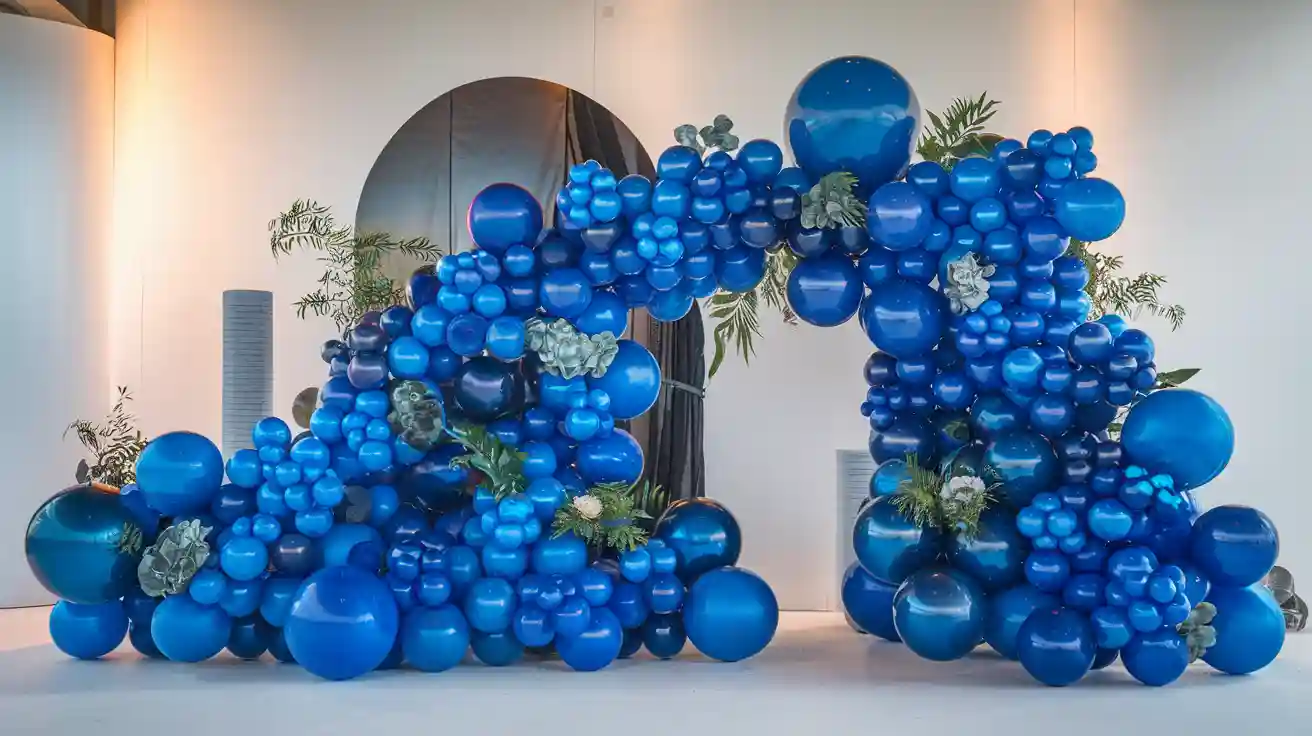
Blue balloons are always a fantastic choice for parties. In 2025, blue balloons look even more stunning than ever. A balloon garland featuring blue balloons can instantly transform your party space, making it both fun and inviting. Crafting one with blue balloons is simple and enjoyable. So why not start creating your own gorgeous blue balloon garland today?
Key Takeaways
Collect needed items like blue balloons, a pump, and glue dots.
Decide your design and measure the space to fit well.
Combine different balloon sizes and shades for a cool look.
Materials for a Balloon Garland
Making a beautiful balloon garland starts with the right supplies. Here’s what you’ll need to get started:
Blue Balloons in Different Sizes
Use blue balloons of various sizes for a great look. Mix big, medium, and small balloons to add depth. Pick shades like navy, sky blue, or pastel blue for a matching style. For extra flair, mix matte and shiny balloons. Blue balloons are perfect for all events, from birthdays to weddings.
Balloon Garland Strip or Tape
A garland strip or tape helps hold balloons together. These strips have holes to insert balloon knots. They make it easy to build a garland without special skills. If you’re new to decorating, this tool is super helpful.
Balloon Pump (Manual or Electric)
Blowing up balloons by mouth is tiring. A balloon pump makes it easier. Choose a manual pump or an electric one based on your needs.
Here’s a quick comparison:
Type of Pump |
Price Range |
Best For |
|---|---|---|
Manual Balloon Pump |
Small projects or rare use |
|
Electric Balloon Pump |
£20 – £40 |
Big events or frequent use |
Professional Electric Pump |
£50 or more |
Professional decorators |
Manual pumps are cheap and easy to carry, great for outdoors. Electric pumps are faster, ideal for big parties. If you’ll make garlands often, an electric pump is worth it.
Glue Dots for Clusters
Glue dots are sticky circles that attach small balloons to your garland. They fill gaps and make clusters for a fuller design. They’re simple to use and won’t harm your balloons. Just peel and stick!
Command Hooks or Wall Hangers
To hang your garland, you’ll need hooks or hangers. Command hooks or wall hangers work well. They’re strong and won’t damage walls. Place them to shape your garland into arches or curves.
Optional Additions (Greenery, Metallic Balloons, Lights)
Want to make your garland extra special? Add greenery, metallic balloons, or lights. Greenery gives a natural feel, metallic balloons add shine, and lights make it glow. These extras are great for themed parties or unique designs.
Tip: Match your accessories to your blue balloons for a polished look. This keeps your garland looking neat and professional.
With these items, you’re ready to make a balloon garland that will amaze everyone. Whether it’s a birthday or wedding, this DIY project will impress!
Step-by-Step Instructions for a Balloon Garland
Creating a balloon garland is easier than you might think! Follow these step-by-step instructions to craft a stunning decoration for your next celebration.
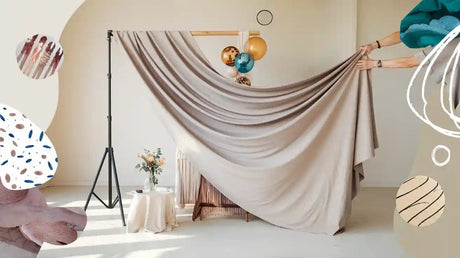
Plan the Design and Measure the Space
Before you start, decide where you’ll display your balloon garland. Will it frame a doorway, hang above a dessert table, or create a backdrop for photos? Once you’ve chosen the spot, measure the space to determine the garland’s size.
Here’s a quick guide to help you decide on the dimensions:
Type of Garland |
|
|---|---|
Classic Garland |
Junior (7 x 8ft) |
Standard (10 x 12ft) |
|
Deluxe (12 x 15ft) |
|
Grand (15 x 20ft) |
|
Organic Garland |
Minimum 10 linear ft |
For example, if your garland will be wider than it is tall, use this formula:
Height (H) + Width (W) = Total Length
Tip: Always add a little extra length to your garland. It’s better to have more balloons than not enough!
Inflate the Blue Balloons
Now it’s time to bring your blue balloons to life! Use a balloon pump to inflate them. Air-filled balloons are more cost-effective and last longer than helium-filled ones.
Here’s a quick comparison of inflation methods:
Balloon Type |
Inflation Method |
Cost Effectiveness |
Durability |
Lifespan |
|---|---|---|---|---|
Latex |
Helium |
Higher cost |
Shorter |
|
Latex |
Air |
Lower cost |
Longer |
A few days to a week |
Mylar (Foil) |
Helium |
Higher cost |
Longer |
Up to 4 days (larger can last weeks) |
Mylar (Foil) |
Air |
Higher cost |
Longer |
Can be reused after deflation |
Inflate balloons in different sizes to add depth to your garland. Use larger balloons as the base and smaller ones for accents. Don’t overinflate! Slightly underfilled balloons are easier to work with and less likely to pop.
Attach Balloons to the Garland Strip
Take your balloon garland strip or tape and start attaching the balloons. Insert the balloon knots into the holes on the strip. Alternate sizes and shades of blue balloons to create a balanced look.
Pro Tip: Leave some space between balloons to make room for smaller ones later. This will give your garland a fuller appearance.
Add Smaller Balloons for Depth
Once the main structure is complete, use glue dots to attach smaller balloons. These fill gaps and add dimension to your garland. Stick them in clusters for a natural, organic look.
DIY Tip: If you’re going for a themed design, now’s the time to add metallic balloons, greenery, or lights for extra flair.
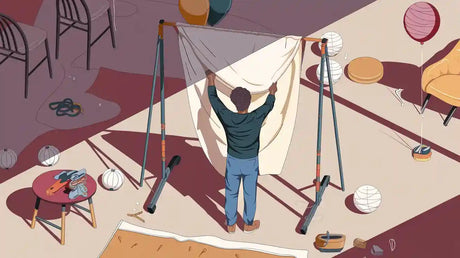
Secure the Garland to the Wall or Frame
To hang your garland, use command hooks or wall hangers. Place the hooks where you want the garland to curve or arch. For outdoor events, consider using rebar stakes or metal frames for stability.
Technique Description |
Key Points |
|---|---|
Pound rebar into the ground and use PVC pipes for support. |
|
Firmly anchor ends of the arch |
Weight down the ends as much as possible and ensure they are deep in the ground. |
Use thick metal frames |
Prevent sagging by using the largest, thickest metal frame available. |
Utilize guy wires |
Run guy wires from the arch to the sides to stabilize against wind. |
Note: Always test the stability of your garland before the event starts. You don’t want it falling during the celebration!
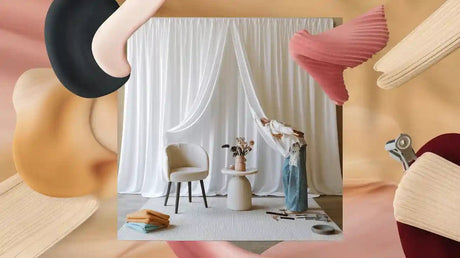
Add Final Touches for a Stunning Look
Step back and admire your work. Does your garland look full and balanced? Add any final touches, like lights or extra greenery, to complete the look. Stick to a cohesive color palette to keep your garland looking polished and professional.
Celebration Tip: Use your balloon garland as a backdrop for photos. It’s a great way to capture memories from your birthday party or other celebrations!
With these step-by-step instructions, you’re ready to create a balloon garland that will wow your guests. Whether it’s for a birthday, wedding, or DIY party decoration, your garland will be the star of the show!
Balloon Garland Ideas for a Stunning Look
Use Balloons in Different Sizes and Colors
Using balloons of various sizes and colors makes your garland unique. Big balloons can create fun, uneven shapes that look natural. Pair them with smaller balloons to add layers and movement. Combine blue shades like navy, pastel, and sky blue for a matching style. This method, often used in organic garlands, gives a relaxed and eye-catching design.
Description |
|
|---|---|
Oversized Balloons |
Create uneven shapes for depth and movement. |
Organic Balloon Garlands |
Mix sizes and colors for a natural, relaxed look. |
Playful Designs |
Make balloons the main focus for a fun celebration. |
Tip: Try different sizes and shades to match your event’s theme.
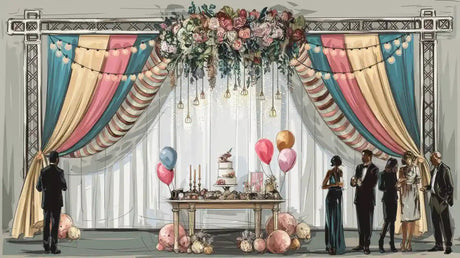
Add Metallic or Clear Balloons
Metallic and clear balloons can make your garland extra special. Metallic ones add sparkle, great for weddings or big birthdays. Clear balloons filled with glitter or confetti bring a fun, modern touch. These extras make your garland stand out and grab attention at your party.
Include Greenery or Lights
Greenery or lights can change your garland’s look completely. Add plants like ivy or eucalyptus for a fresh, natural vibe. Use fairy lights or LED strips for a magical glow, especially at night. These details work well for themes like garden parties or rustic weddings.
DIY Tip: Use battery-powered lights to hide wires and make setup easy.
Stick to Matching Colors
Matching colors make your garland look neat and pretty. Blue balloons go well with white, silver, or gold for a classic style. For a bold look, mix blue with bright yellow or pink. Soft pastels feel calm and romantic, while bright colors add energy and fun.
Pro Tip: Pick colors that fit your event’s theme for the best effect.
Avoid Overcrowding or Empty Spots
Keep your garland balanced for the best look. Too many balloons can make it messy, while empty spots make it look unfinished. Use glue dots to fill small gaps with tiny balloons or clusters. Step back often to check if your garland looks even and full.
Celebration Tip: Take pictures from different angles to find and fix gaps or crowded areas before your event.
These ideas will help you make a beautiful balloon garland for any event. Whether it’s a birthday, wedding, or work party, your garland will wow your guests. Be creative and turn your garland into something amazing!
Making a blue balloon garland is easy and exciting. Try fun ideas like putting glow sticks, small notes, or bells inside balloons. Be creative and think outside the box! Your garland will wow your guests and make your event special.
FAQ
How long does it take to make a balloon garland?
It usually takes 1–2 hours, depending on the size and complexity. Start early to avoid last-minute stress.
Can I reuse the balloon garland?
Yes! Carefully deflate the balloons and store them in a cool, dry place. Reuse them for future events or creative projects.
What’s the best way to transport a balloon garland?
Inflate and assemble it at the venue. If that’s not possible, transport it in a large vehicle with plenty of space to avoid popping.
Pro Tip: Use a balloon bag to protect your garland during transport. It keeps everything intact and makes setup easier!