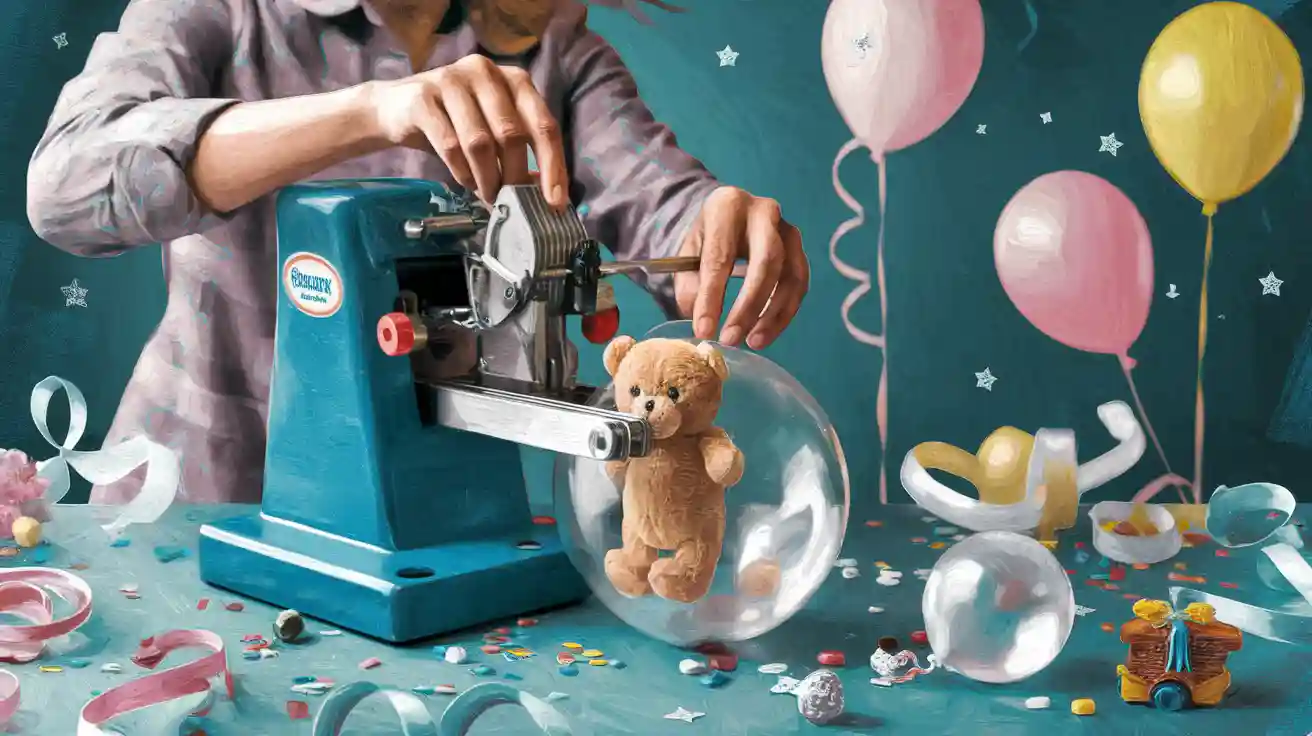
Have you ever seen a balloon filled with gifts or decorations and wondered how it’s done? A balloon stuffing machine is the secret! This amazing device allows you to easily place small items like candy, confetti, or toys inside balloons. It’s perfect for creating unique party favors, eye-catching decorations, or memorable gifts.
With a balloon stuffing machine, you can save time and effort. There’s no need to stretch or inflate balloons manually, and it ensures your balloons look polished and professional. Whether you’re planning a birthday, wedding, or holiday celebration, this machine lets you unleash your creativity. Ready to give it a try?
Key Takeaways
Set up the balloon stuffing machine properly. Read the manual to stay safe and avoid problems.
Pick the right balloon size and type. Use an 18-inch latex balloon for easier use.
Stretch the balloon first. This stops it from popping and helps it inflate evenly.
Keep your workspace tidy. A clean area with tools nearby makes balloon stuffing simple and fun.
Place items gently inside the balloon. Use light decorations and don’t overfill for better results.
Preparing the Balloon Stuffing Machine
Putting the machine together
Before using the machine, make sure it’s set up right. Most machines include a manual with clear setup steps. For example, the Keepsake Stuffer Guide shows how to unpack and safely assemble it. Follow the instructions carefully to avoid problems.
Here are some helpful tips:
Attach all parts tightly, especially the balloon holder.
Place the machine on a flat surface to stop it from tipping.
Wear safety glasses when handling latex balloons for protection.
Taking time to set up the machine properly will save trouble later.
Picking the right balloon type and size
Not every balloon works well with stuffing machines. Latex balloons are popular because they stretch and last longer. Bobo balloons are also good if you want a clear look.
Think about the balloon’s size and how much it can hold. For example:
Latex balloons come in sizes from 9 to 24 inches.
Bobo balloons need stretching first to avoid breaking.
If you’re unsure, start with an 18-inch latex balloon. It’s easy to use and fits most projects.
Stretching the balloon beforehand
Stretching the balloon is important, especially for latex ones. It helps the balloon stretch evenly and lowers the chance of popping. To stretch:
Blow up the balloon halfway, then let the air out.
Do this a few times to loosen the balloon.
For Bobo balloons, follow the maker’s instructions. The Bloonsy Stuffer, for example, says stretching stops the balloon from tearing. This small step makes a big difference in how your project turns out.
Organizing your workspace
Before you begin stuffing balloons, make sure your workspace is ready. A clean and organized area makes the job easier and more fun. It also helps you keep track of small items and avoid making a mess.
Here’s how to set up your workspace step by step:
Choose a flat, stable surface: Use a strong table or counter for the balloon stuffing machine. This keeps it steady and prevents accidents.
Keep your tools within reach: Gather scissors, ribbons, decorations, and balloons. Put them in a tray or container to stay organized.
Clear the clutter: Remove anything you don’t need from your workspace. A clean area helps you focus and prevents knocking things over.
Ensure good lighting: Bright lights help you see clearly, especially when adding tiny decorations inside the balloon.
Pro Tip: Place a non-slip mat under the machine to stop it from sliding while you work.
If you’re using many items, try making a checklist. For example:
Item Checklist |
Status |
|---|---|
✅ Ready |
|
Decorative items |
✅ Ready |
Scissors |
✅ Ready |
Ribbons |
✅ Ready |
Organizing your workspace saves time and keeps things simple. It also makes handling balloons and sharp tools safer. Once your area is ready, you can start the fun part—stuffing balloons! 🎈
How to Stuff Balloons Using the Machine
Securing the balloon on the machine
The first step is attaching the balloon to the machine. It might seem hard at first, but it gets easier with practice. Stretch the balloon’s neck a little to make it fit better. Then, carefully pull the neck over the machine’s opening until it’s tight. A snug fit stops air from leaking when you inflate the balloon.
If your machine has a clamp or holder, use it to keep the balloon steady. This helps the balloon stay in place while you work. Some machines, like the Keepsake Stuffer, have locks that hold the balloon firmly without tearing it. Take your time here—it’s important for a smooth stuffing process.
Pro Tip: If the balloon feels too tight, stretch it more before attaching. This lowers the chance of ripping and makes it easier to secure.
Inflating the balloon
After securing the balloon, it’s time to inflate it. Turn on the machine and let it pump air into the balloon. Most machines inflate balloons evenly, so watch as it grows bigger. Stop inflating once the balloon reaches the size you want. Over-inflating can make the balloon pop, so be careful.
Inflate just enough to leave space inside for decorations or gifts. If you’re using a clear balloon, like a Bobo balloon, make sure it stretches fully to avoid wrinkles. This step is key for making the balloon look neat.
Tips for inflating:
Inflate slowly to avoid sudden bursts.
Look for weak spots or tears as the balloon expands.
Adjust the balloon’s position if it starts wobbling.
Medical studies on balloons used in surgeries show that even inflation works best. While your machine isn’t for surgery, the same idea applies—steady inflation gives better results.
Adding items inside the balloon
Now comes the fun part—putting items inside the balloon! You can add confetti, toys, or even a small note. Gently place the items through the balloon’s opening. Use your hands or tools like tweezers to avoid damaging the balloon.
Organize your items before stuffing. For example, sort candy by size or color to spread it evenly. Handle fragile decorations, like dried flowers, carefully to keep them safe.
Note: Don’t overfill the balloon. Too many items can make tying hard and ruin its shape.
Checklist for stuffing:
Small items: Confetti, candy, or tiny toys.
Light decorations: Feathers, ribbons, or glitter.
Personal touches: Notes, photos, or keepsakes.
Shake the balloon gently to spread the items inside. This makes the balloon look balanced and neat. If items stick together, move them with your fingers or a tool. A well-stuffed balloon looks great and lasts longer. 🎈
Ensuring even distribution of items
After placing items inside the balloon, spread them out evenly. This step makes the balloon look neat and balanced. If items are uneven, the balloon might appear messy or lopsided. Use simple methods to fix this and create a professional look.
Here’s how to spread items evenly:
Shake the balloon gently
Hold the balloon by its neck and shake it lightly. This helps items move and settle naturally. If some pieces stick together, shaking can separate them. Don’t shake too hard, as it might damage fragile decorations or stretch the balloon too much.Turn the balloon slowly
Rotate the balloon in your hands to see how items shift. Turning it lets you guide heavier or larger items to better spots. If something looks off, tilt the balloon slightly to adjust the placement.Use a tool for stuck items
If some items won’t move, use a thin tool like a pencil or chopstick. Carefully push or nudge the items into the right position. This works well for lightweight decorations like feathers or confetti that stick to the balloon’s surface.Spread heavy items evenly
For heavier items like toys or candy, place them on opposite sides. This keeps the balloon balanced and prevents it from looking uneven. Add one item at a time to avoid overloading one area.
Pro Tip: Rub the outside of the balloon with a cloth to create static. This makes confetti stick to the sides, creating a cool floating effect. ✨
Check from all sides
Hold the balloon up and look at it from different angles. This helps you spot crowded or empty areas. Adjust the items until the balloon looks balanced and neat.
Common Mistakes to Avoid
Adding too many items: Overfilling makes it hard to spread items evenly. Use a moderate amount for the best look.
Ignoring the balloon’s shape: Watch how the balloon stretches as you add items. Too much weight on one side can ruin its shape.
Rushing the process: Take your time to arrange items carefully. Patience helps create a polished and beautiful balloon.
Remember: The goal is to make the balloon look balanced and attractive. Even spacing improves the design and keeps the balloon stable for longer.
With practice, you’ll get better at stuffing balloons evenly. Try different techniques and have fun experimenting. 🎈
Finalizing the Balloon
Sealing the balloon
Closing the balloon is the last step to keep items inside. A heat sealer gives a neat finish. If you use one, follow these tips:
Don’t let the sealer get too hot. Cool it down between uses to avoid balloon damage.
Strengthen the seal by sealing the same spot more than once. This makes it stronger and less likely to open.
Use a guide to make the seal even. A uniform seal helps the balloon stretch without breaking.
If you don’t have a heat sealer, tying the balloon tightly works too. The goal is to keep the balloon shut and its contents safe.
Pro Tip: Look for weak spots in the seal before finishing. Checking now can prevent problems later.
Tying the balloon
Tying the balloon secures everything inside with a strong knot. Use ribbon or string for the best hold. Here’s a simple guide:
Recommendation |
Description |
Success Rate Metric |
|---|---|---|
Use proper materials |
Wet the ribbon to stop it from cutting the balloon. |
Prevents damage and keeps the knot secure. |
Inflate carefully |
Don’t overfill; leave space to avoid popping. |
Helps balloons last longer in warm places. |
Work efficiently |
Speeds up the process for big projects. |
Make sure the knot is tight but not so tight that it tears the balloon. If you’re making a balloon arch or bouquet, space the balloons evenly for a nice look.
Tip: Use a ruler or your hand to keep spacing even. This makes your design look better.
Adding decorative touches
Decorating the balloon lets you be creative. Add ribbons, glitter, or small props to make it unique. Try these ideas:
Stick wiggly eyes on the balloon for fun designs.
Use feathers, glitter, or fake flowers for a magical look.
Wrap the balloon in gift paper or add bows for extra style.
Balloons can brighten any event space. Use them to make arches, columns, or table decorations that match your theme. These designs are great for weddings, parties, or business events.
Pro Tip: Rub the balloon with a cloth to create static. This makes confetti stick to the sides for a cool floating effect.
Decorating takes effort but is worth it. A well-decorated balloon looks amazing and leaves guests impressed. 🎈
Troubleshooting the Balloon Stuffing Machine
Even with good preparation, problems can still happen. Don’t stress—most issues are simple to fix. Let’s look at common problems and how to solve them.
Dealing with popped balloons
Popped balloons can be annoying but are normal. Balloons are fragile, and small mistakes can make them burst. Here’s how to handle and avoid this:
Lower static electricity: Static can cause balloons to pop. Use Static Guard spray or dryer sheets to reduce it. A static mat or grounding yourself also helps.
Pick softer balloons: Softer balloons are less likely to break. Inflate them less to make them stretchier.
Be gentle with balloons: Rub baby oil or glycerin on your hands to lower friction. This makes stretching and securing the balloon easier.
Preinflate for strength: Blow up the balloon, let the air out, and reuse it. This step makes the balloon stronger and less likely to pop.
Pro Tip: Use a humidifier in dry rooms. Moist air reduces static and makes the process smoother.
If a balloon pops, clean up the pieces right away. Then, try again with a new balloon. Practice will help you improve!
Fixing uneven stuffing
Uneven stuffing can make a balloon look messy. Luckily, it’s easy to fix. Try these tips:
Shake and turn the balloon: Hold the neck and shake gently. This helps items settle. Turn the balloon to move heavier items into better spots.
Use a tool to adjust: If items are stuck, use a pencil or stick to move them. Be careful not to damage the balloon.
Balance heavy items: Place heavier things, like toys or candy, on opposite sides. This keeps the balloon balanced.
Check all sides: Look at the balloon from different angles. Adjust items until it looks even.
Note: Don’t overfill the balloon. Too many items make it harder to balance. Use fewer decorations for better results.
If it’s still uneven, try using fewer items or a bigger balloon. Experimenting will help you get it right.
Solving inflation problems
Inflation issues can happen if the balloon isn’t attached well or the machine has a problem. Here’s how to fix it:
Secure the balloon tightly: Make sure the neck is snug around the machine’s opening. A loose fit can cause air leaks.
Check the machine: The rubber seal on the chamber top is important. Handle the chamber carefully to avoid damaging the seal. Store parts properly to keep the seal in good shape.
Inflate slowly: Add air gradually to avoid popping or overinflating.
Watch for weak spots: Look for thin or stretched areas as the balloon inflates. Stop if you see these to prevent popping.
If the machine doesn’t inflate at all, check the power and assembly. Clean and inspect the machine regularly to avoid problems.
Pro Tip: Keep extra balloons nearby. It’s always smart to have backups for creative projects.
By fixing these common issues, you’ll get better results and enjoy the process more. Troubleshooting takes time but leads to great-looking balloons! 🎈
Maintaining the machine
Taking care of your balloon stuffing machine is important. It helps the machine last longer and work better. Regular maintenance stops problems before they happen. Let’s look at simple ways to keep your machine in great shape.
Why Maintenance Matters
Think of your machine like a bike. If you don’t oil the chain or check the tires, it won’t work well. The same goes for your machine. Dust and rough use can make it stop working. By doing small tasks, you can avoid big repairs and keep your balloons looking amazing.
Routine Maintenance Tasks
Here are easy steps to keep your machine working well:
Check for damage
Look for cracks or loose parts. Fixing small issues early stops bigger problems later.Test the machine
Turn it on to check for strange sounds or issues.Clean after use
Wipe off dust and glitter with a soft cloth. Remove stuck bits carefully.Tighten parts
Check screws and moving parts. Tight parts help the machine run smoothly.Calibrate settings
Make sure inflation or pressure settings are correct. This gives better results.Do a final test
After cleaning, run the machine to ensure it works well.
Pro Tip: Keep tools like a screwdriver and brush nearby for quick fixes.
Keeping Maintenance Records
Writing down maintenance helps you stay organized. Use a table like this to track your work:
Description |
|
|---|---|
Calibration and repair |
Adjust settings and fix any big problems. |
Preventive maintenance |
Do regular checks and small repairs to keep it running well. |
Maintenance record entries |
Write dates, tasks, and notes for future reference. |
A record helps you remember when you last cleaned or fixed the machine. It’s useful if you use it often or share it with others.
Tips for Long-Term Care
Want your machine to last a long time? Follow these tips:
Store it safely: Keep it in a dry, cool place to avoid rust.
Handle gently: Don’t force parts or overload it. Treat it with care.
Deep clean regularly: Every few months, clean hard-to-reach areas. This stops buildup.
Replace old parts: Check the manual for parts to replace when needed.
Note: Always follow the manual for cleaning and repairs. Using the wrong tools can damage the machine.
Final Thoughts
Maintaining your balloon stuffing machine is easy and worth it. A little care keeps it working well and saves you money. Plus, a well-kept machine makes perfect balloons every time. Set a schedule, grab your tools, and enjoy stress-free balloon projects! 🎈
Using a balloon stuffing machine lets you create amazing designs. Follow the steps to turn plain balloons into beautiful gifts or decorations. First, gather your supplies and set up the machine. Then, carefully fill the balloon with your chosen items. This makes your celebrations feel special and look professional. Try new designs and methods to get better at balloon stuffing. With time, you’ll create unique and memorable decorations for any event. 🎈
Pro Tip: Be bold and try fresh ideas—creativity makes your designs shine!
FAQ
What types of items can I put inside a stuffed balloon?
You can add lightweight items like confetti, candy, small toys, or dried flowers. Personal touches like notes or photos also work well. Avoid sharp or heavy objects—they might damage the balloon.
Tip: Use items that match your event theme for a cohesive look! 🎉
Can I reuse a balloon if it pops during stuffing?
No, popped balloons can’t be reused. Once a balloon bursts, it loses its elasticity. Always keep extra balloons on hand to avoid interruptions during your project.
Pro Tip: Pre-stretch balloons to reduce the chance of popping.
How do I clean my balloon stuffing machine?
Wipe the machine with a soft, damp cloth after each use. Remove any stuck glitter or debris carefully. For hard-to-reach areas, use a small brush. Regular cleaning keeps your machine in top shape.
What size balloon works best for beginners?
Start with an 18-inch latex balloon. It’s easier to handle and fits most stuffing projects. Larger balloons, like 24-inch ones, are great for bigger items but require more practice.
Can I use helium to inflate stuffed balloons?
Yes, you can use helium, but only after sealing the balloon. Inflate it with helium through a separate nozzle. This makes the balloon float, adding a magical touch to your decorations. 🎈
Note: Ensure the balloon is tightly sealed to prevent helium leaks.