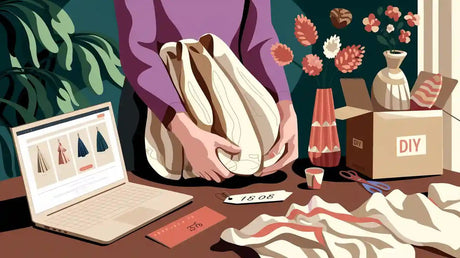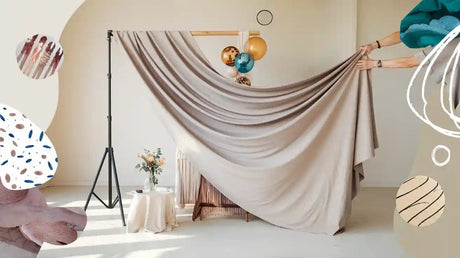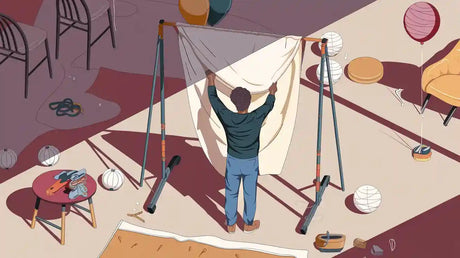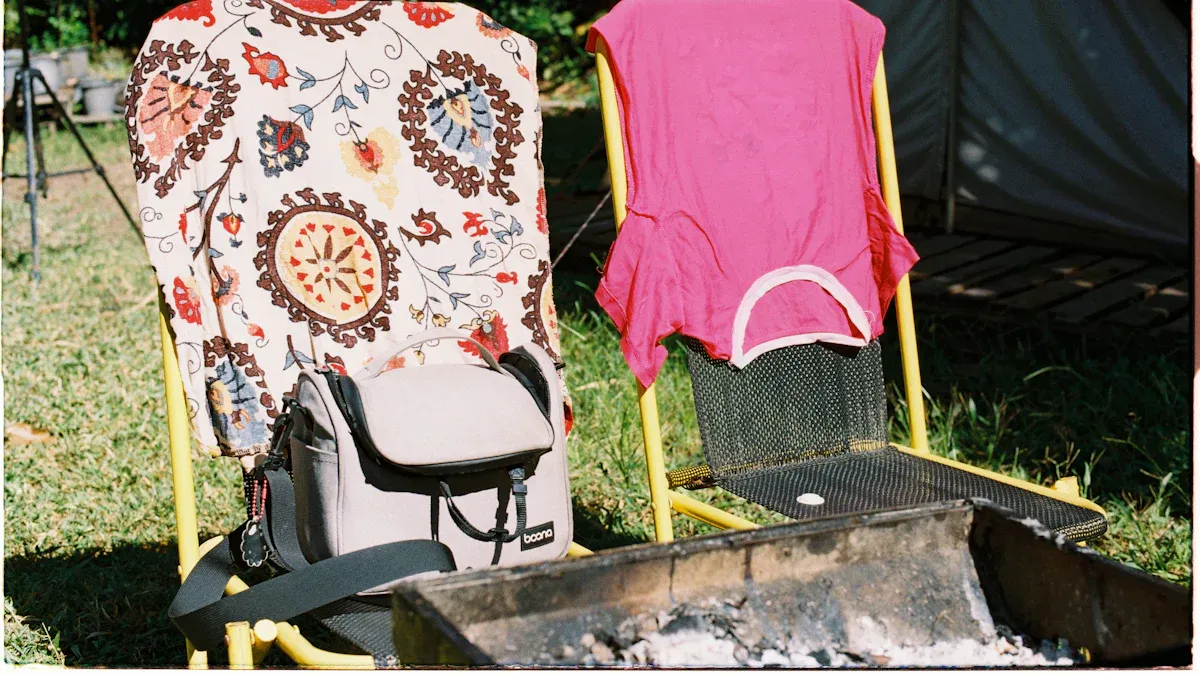
Have you ever thought about how a simple DIY project could completely transform your chairs? Crafting your own chair covers is a fun and cost-effective way to refresh your home decor. You get to pick the fabric, color, and style that match your personality. Plus, making a slipcover is easier than you think. Even if you're a beginner, you'll find the process rewarding and surprisingly simple.
Key Takeaways
Making chair covers yourself is fun and saves money. Pick fabrics that fit your taste and style.
Get ready first! Wash and iron the fabric before cutting. This helps it fit well and stops shrinking.
Measuring right is very important for a good fit. Measure your chair carefully and leave extra space for seams.
Materials and Tools for Simple Chair Covers
Making chair covers is a fun and cheap DIY project. You don’t need fancy tools or expensive materials. Let’s see what you’ll need to begin.
Basic Materials for Chair Covers
The materials you pick decide how your covers will look. Here’s a simple list:
Fabric: Cotton is soft, breathable, and easy to use. Faux leather or vinyl gives a modern look and is easy to clean.
Thread: Use thread that matches your fabric color for a neat look.
Piping: Adds a stylish edge to your covers.
Velcro: Helps secure the cover without needing zippers or buttons.
Cotton fabrics like canvas or denim are strong and easy to sew. Faux leather is great if you want a smooth, professional style.
Tools for Cutting and Sewing Chair Covers
You don’t need a fancy sewing kit for this project. These simple tools will work:
Sewing machine
Sharp fabric scissors for easy cutting
Pins to hold fabric in place
Fabric marker to mark sizes
Ruler or tape measure
Iron to remove wrinkles before sewing
Cutting fabric correctly is very important for a good fit. A sewing machine makes it faster, but you can sew by hand if you want.
Extra Features for Better Slipcovers
Want to make your covers even cooler? Try these extras:
Sticky fabric for no-sew projects
Water-resistant fabric to stop spills
Antimicrobial fabric to fight smells and germs
Blackout fabric for more privacy
These extras make your covers more useful and stylish. For example, water-resistant fabric is great for dining chairs, and antimicrobial fabric is perfect for homes with kids or pets.
Tip: If you’re new to DIY, start with simple designs and basic materials. Once you’re confident, try adding these extras to make unique covers.
With these materials and tools, you’ll be ready to create amazing chair covers that match your home perfectly.
Preparation Steps for Chair Covers
Getting ready to make your slipcover is just as important as sewing it. These preparation steps will help you create a cover that fits perfectly and looks amazing.
How to Choose the Right Fabric
Picking the right fabric is the first step to success. You want something that’s durable, comfortable, and easy to maintain. Here’s a quick guide to help you decide:
Description |
|
|---|---|
Durability |
Look for fabrics with a tight weave and high thread count for long-lasting use. |
Comfort |
Feel the fabric to ensure it’s soft and cozy for everyday use. |
Maintenance |
Choose materials that are easy to clean, like machine-washable options. |
Aesthetics |
Match the fabric’s color and pattern to your home decor style. |
Environmental Impact |
Consider eco-friendly fabrics for a sustainable choice. |
Cotton and canvas are great for a budget-friendly DIY project. If you want something fancy, try velvet or faux leather. Always test a small sample to see how it feels and looks in your space.
Pre-Washing and Ironing the Fabric
Before you start cutting, pre-wash your fabric. This step prevents shrinking later. Use the same settings you’ll use for regular washing. Once it’s dry, iron it to remove wrinkles. Smooth fabric makes it easier to measure and sew the slipcover.
Tip: Don’t skip this step! Pre-washing ensures your slipcover stays the right size after washing.
Measuring Chairs for a Perfect Slipcover Fit
To make a slipcover that fits like a glove, you need accurate measurements. Follow these step-by-step instructions:
Measure the height of the chair from the floor to the top of the backrest.
Measure the width of the seat and backrest.
Measure the depth of the seat from the front edge to where it meets the backrest.
Add a few inches to each measurement for seam allowance and adjustments.
Write down your measurements and double-check them. This ensures you’ll have enough fabric to sew the pieces together without running short.
Pro Tip: If you’re unsure how to measure a chair for slipcovers, use a flexible tape measure. It’s easier to work around curves and edges.
With these steps complete, you’re ready to cut and sew the slipcover. Taking the time to prepare properly will save you frustration later and help you create a professional-looking cover.
How to Make a Slipcover in 5 Easy Steps
Cutting the Fabric for Chair Covers
Start by cutting your fabric pieces. This step sets the foundation for your slipcover. For simplicity, cut two main pieces: one for the chair back and another for the seat. Measure carefully and add a 3/4-inch seam allowance to each piece. If your chair has curves, use an old sheet or muslin to create a pattern first. This helps you avoid mistakes when cutting the final fabric.
For the chair back, cut one piece to cover both the front and back. Leave the sides intact for a seamless look. For the seat, cut a rectangle and make a small cutout where the backrest meets the seat. Pin the edges together to ensure everything aligns before sewing.
Tip: Always cut fabric slightly larger than needed. It’s easier to trim excess than to fix a piece that’s too small.
Pinning and Preparing the Fabric Pieces
Pinning is where your slipcover starts to take shape. Begin by blocking the seat and pinning the fabric in place with T pins. Work from the center outward to keep the fabric straight. For curved areas, create small pleats or darts to ensure a smooth fit.
Next, measure and cut boxing fabric for the sides, leaving extra length for adjustments. Pin the fabric around the chair’s curves, aligning patterns if your fabric has them. This step ensures your slipcover will fit snugly and look professional.
Sewing the Pieces Together
Now it’s time to sew the pieces together. Start with the side panels, sewing right sides together. Use a piping or zipper foot if you’re adding piping for a polished edge. Check your work as you go to ensure seams align properly.
Iron each piece after sewing to keep the fabric smooth and neat. If you’re using Velcro, sew the strips close to the edges for easy attachment later. This step is crucial for creating a snug, tailored fit.
Fitting the Slipcover on the Chair
Place the slipcover on your chair to check the fit. Adjust the fabric as needed, folding and pinning any loose areas. Use adhesive-backed Velcro at the bottom of the chair to secure the cover in place. This technique keeps the slipcover from shifting during use.
For a tight fit, fold the fabric at the bottom edges and pin the piping in place. Attach Velcro tabs to hold everything securely. This step ensures your slipcover stays put and looks great.
Hemming and Final Adjustments
The final step is hemming and making adjustments. Fold the bottom edges of the slipcover and sew a clean hem. This gives your cover a finished look. If you notice any loose seams or uneven areas, fix them now.
Once you’re satisfied with the fit, give the slipcover a final press with an iron. This step smooths out wrinkles and makes your DIY project look store-bought. Congratulations—you’ve just completed your easy slipcover!
Callout: Don’t worry if your first attempt isn’t perfect. Practice makes perfect, and each slipcover you make will get better!
Making a DIY chair cover is easier than you think. It’s a fun way to refresh your space without spending much. Plus, you can experiment with fabrics and designs to match your style. Did you know 68% of homeowners who used stain-resistant fabrics felt more satisfied with their furniture? That’s a great reason to try! Whether you’re updating an old chair or adding a slipcover to protect a new one, this project is worth it. Start today, and remember—practice makes perfect!
FAQ
How do I clean my DIY chair covers?
Most fabrics are machine washable. Use a gentle cycle with cold water. For delicate materials like velvet, spot-clean with a damp cloth and mild detergent.
Tip: Always check the fabric care label before washing!
Can I make chair covers without a sewing machine?
Yes, you can! Use fabric glue, iron-on adhesive, or Velcro for no-sew options. These methods work well for simple designs and quick projects.
What’s the best fabric for dining chairs?
Choose water-resistant or stain-resistant fabrics like faux leather or treated cotton. These materials handle spills and stains better, making them perfect for dining areas.
Pro Tip: Add a protective spray to extend the life of your chair covers.

