Creating a cover for chair is a fun and fulfilling project that offers plenty of benefits. Not only can you save money and customize your furniture, but you can also help reduce fabric waste. Did you know that taking precise measurements can lower fabric costs by 15-20% and cut waste by up to 25%? Plus, making your own cover for chair can save you up to 30% compared to buying pre-made options. This tutorial will teach you how to craft simple, perfectly fitting chair covers. Whether you’re looking to reupholster dining chair covers or give your chairs a fresh new look, this guide will walk you through every step. Ready to begin?
Key Takeaways
Pick strong fabrics like cotton or polyester for lasting covers. These are simple to clean and care for.
Exact measurements matter. Measure your chair well to save fabric and get a good fit.
Use tough thread and closures like Velcro or zippers. This makes the covers work better and look nice.
Try sewing on old fabric before starting your project. This helps you practice and avoid errors.
Wash and store your chair covers often to make them last longer and stay neat.
Materials and Tools for Chair Covers
Essential Materials
Picking strong fabric like cotton or polyester
To make a fabric cover, start by picking the right material. Cotton and polyester are great choices because they last long and are easy to use. Cotton feels soft and natural, while polyester doesn’t wrinkle and stays strong. For a fancy look, try blends like polyester-cotton or velvet. Here’s a simple cost guide to help you choose:
Fabric Type |
Strength and Durability |
Cost and Value |
|---|---|---|
Cotton |
Handles cleaning, but stains and wrinkles easily |
Costs more than polyester, often mixed with other fabrics |
Polyester |
Very strong, resists wrinkles, keeps colors well |
Budget-friendly and widely used for furniture covers |
Polyester-Cotton |
Mixes strength with wrinkle resistance |
Affordable due to cotton blend |
Picking thread for strength and matching colors
Thread may seem small, but it’s very important for strong seams. Pick a thread that matches your fabric color for a neat look. Polyester thread is strong and doesn’t break easily, making it a good choice. For thick fabrics like denim or faux leather, use thicker thread.
Extras like Velcro, elastic, or zippers
To make your chair covers easy to use, add closures like Velcro, elastic, or zippers. Velcro is quick to adjust, elastic gives a tight fit, and zippers make the cover look neat and professional.
Tools You’ll Need
Measuring tape for exact sizes
Getting the right size is important for a good fit. Use a flexible measuring tape to measure the seat, backrest, and full chair size. This helps you buy just enough fabric, saving money and cutting waste.
Scissors or rotary cutter for neat cuts
Sharp scissors or a rotary cutter are needed for clean cuts. Rotary cutters are great for straight lines and make cutting faster.
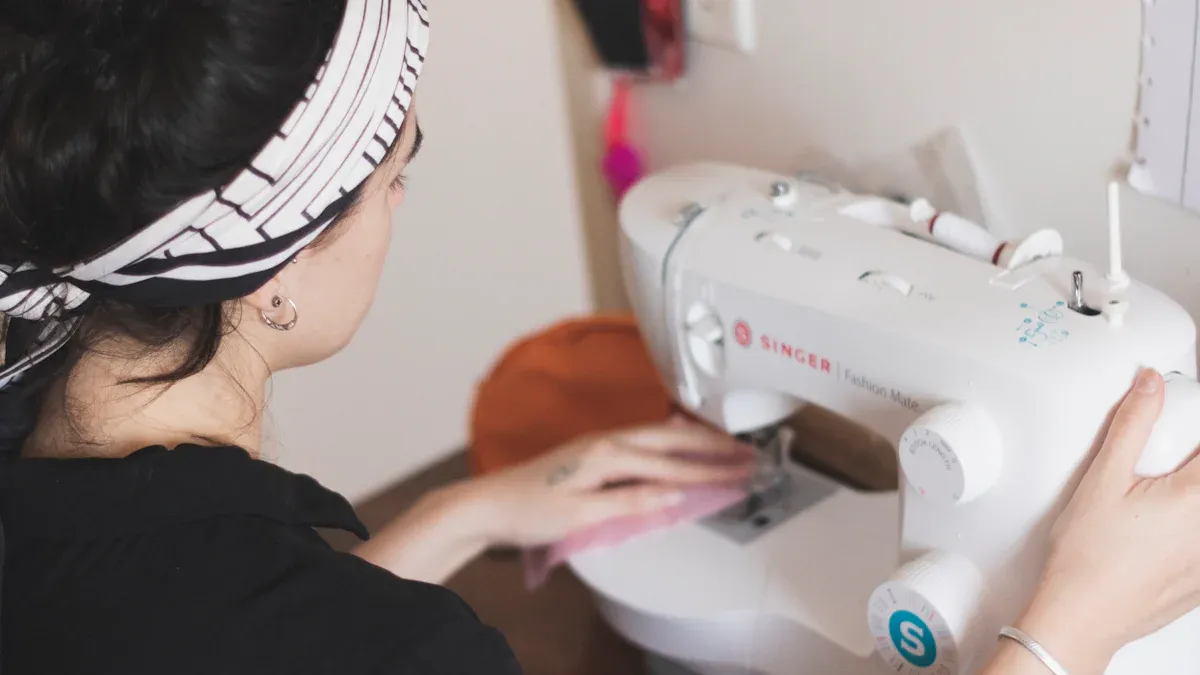
Sewing machine or hand-sewing options
A sewing machine makes sewing quicker and gives a polished look. If you don’t have one, you can sew by hand with a strong needle and thread. It takes longer but works just as well.
Pins and chalk for holding and marking fabric
Pins keep your fabric in place while sewing, and chalk helps mark cutting lines. These tools make sewing easier and help avoid mistakes.
Tip: Before starting, gather all your supplies for the chair cover. Being prepared saves time and keeps the project simple.
Preparing to Make Chair Covers
Measuring Your Chair
Steps to measure the seat, backrest, and overall size
Accurate measurements are the foundation of a well-fitting cover for chair. Start by measuring the width and depth of the seat. Then, measure the height and width of the backrest. Don’t forget to measure the overall height of the chair from the floor to the top of the backrest. Use a metal tape measure for precision and measure to the nearest 1/8 inch. For best results, take each measurement twice and have a friend double-check your work.
Pro Tip: Lay the fabric upside down on the chair and secure it with straight pins. This helps you align the fabric properly and ensures a snug fit.
Accounting for seam allowances and fabric stretch
When cutting your fabric, add at least 1 inch to each measurement for seam allowances. If you’re using a stretchy material, account for how much it will expand when pulled tight. This step prevents your fabric slip cover from being too tight or too loose.
Aspect |
Impact of Accurate Measurements |
|---|---|
Fabric Yardage |
|
Pattern Matching |
Improves efficiency by 15-20% |
Overall Cost |
Saves 10-30% on materials |
Choosing and Prepping Fabric
Tips for selecting durable and stylish fabric
Pick a fabric that matches your style and holds up to daily use. Cotton and polyester blends are great for durability, while velvet adds a touch of luxury. Check the fabric’s durability rating. For example, the Wyzenbeek test measures wear resistance through double rubs, which is a common standard in the U.S.
Test Method |
Description |
Common Usage |
|---|---|---|
Wyzenbeek |
Simulates rubbing to measure fabric wear. |
Most common in the US |
Martindale |
Uses a circular motion to test fabric strength. |
Most common in Europe |
Pre-washing fabric to prevent shrinkage
Before cutting, wash and dry your fabric. This step prevents shrinkage later. Use the same settings you’ll use when cleaning the finished cover. Pre-washing also softens the fabric, making it easier to work with.
Creating a Pattern
Drafting a pattern using paper or muslin
Use large sheets of paper or muslin to create a pattern. Lay the material over your chair and trace the shape of each section, like the seat and backrest. Cut out the pattern pieces and label them to avoid confusion.
Tip: If your chair has curves or unique features, use plenty of pins to hold the pattern material in place while tracing.
Adjusting the pattern for a snug or loose fit
Decide if you want a snug or loose fit for your fabric slip cover. For a snug fit, trim the pattern slightly smaller than the chair’s dimensions. For a looser fit, add extra inches to the pattern. Test the pattern by pinning it to the chair and making adjustments as needed.
How to Make Chair Covers Step by Step
Cutting the Fabric
Tracing the pattern onto fabric
Place your pattern flat on the fabric. Smooth out any wrinkles before starting. Use chalk or a washable marker to trace the pattern. Make sure the pattern follows the fabric grain for a neat look. If the fabric has a design, match the pattern to the print for a clean finish.
Tip: Pin the pattern down so it doesn’t move while tracing.
Cutting fabric with less waste
Cutting carefully helps save fabric and money. Use sharp scissors or a rotary cutter for smooth edges. Place pattern pieces close together to use fabric wisely. Cutting precisely reduces waste, as shown below:
Method |
Material Waste Reduction |
Quality Improvement |
Environmental Impact |
|---|---|---|---|
Traditional Cutting |
High |
Moderate |
Negative |
Low |
High |
Positive |
Sewing the Pieces Together
Pinning fabric for easier sewing
Pin fabric pieces together before sewing. This keeps them in place and prevents slipping. Use straight pins or clips, especially on curved areas. Pinning helps keep seams straight and tidy.
Stitching seams and edges step by step
Sew along the pinned edges using a machine or by hand. A straight stitch works for most seams. For stronger seams, try a lock stitch or chain stitch. Strong seams make your chair covers last longer and protect furniture. Reinforce corners and stress points to avoid tearing.
Pro Tip: Use 12 SPI (stitches per inch) and thread size 40/3 for strong seams.
Assembling the Cover
Joining parts like the seat and backrest
After sewing all pieces, put the cover together. Start by sewing the seat section to the backrest. Align seams carefully before stitching. This step completes your chair cover.
Adding closures like Velcro or elastic
Closures make covers easy to use. Velcro is great for quick adjustments. Elastic gives a snug fit, while zippers add a polished look. These closures make your chair covers both useful and stylish.
Tutorial Tip: Check the fit after sewing each section. This ensures everything lines up before adding closures.
Finishing Touches
Hemming edges for a polished look
Hemming is the final step that gives your chair cover a clean and professional finish. It prevents the fabric from fraying and ensures the edges stay intact over time. To create a hem, fold the fabric edge inward by about half an inch, then fold it again to hide the raw edge. Pin it in place and sew along the fold using a straight stitch.
Tip: Use a matching thread color for a seamless look or a contrasting color to add a fun detail.
Hemming doesn’t just make your cover look neat; it also boosts its durability. A well-hemmed edge resists wear and tear, especially if you’re using the cover daily. Fabrics with a higher thread count and tight weave hold up better to hemming, keeping their shape and resisting pilling. This means your chair cover will stay functional and stylish for a long time.
Adding decorative elements like piping
Want to take your chair cover to the next level? Add piping! Piping is a thin cord wrapped in fabric and sewn into the seams. It adds a decorative border that makes your cover look more polished and custom-made. You can use piping in a matching fabric for a subtle touch or pick a bold color to make it pop.
Here’s how to add piping:
Place the piping along the edge of the fabric, aligning it with the seam.
Pin it in place to prevent shifting.
Sew the piping into the seam using a zipper foot for precision.
Piping not only enhances the look but also strengthens the seams. It helps the cover retain its shape and protects the edges from damage. Plus, tightly woven fabrics with good colorfastness ensure the piping stays vibrant and resists fading, even after multiple washes.
Pro Tip: Test your piping on a scrap piece of fabric first. This helps you get the hang of sewing it neatly before working on the actual cover.
With these finishing touches, your chair cover will look like it came straight from a designer’s workshop. Hemming and piping don’t just add style—they also make your cover more durable and long-lasting. So, take your time with these steps and enjoy the results!
Troubleshooting and Tips for Success
Common Issues and Fixes
Adjusting a cover that doesn’t fit properly
Sometimes, your chair cover might not fit as expected. Don’t worry—this is a common issue in DIY projects. Start by checking your measurements. If the cover is too tight, you can let out the seams slightly. For a loose cover, take in the seams by sewing closer to the edge. Always leave a 1/4” seam allowance to make adjustments easier.
Tip: Accurate measurements save time and prevent fabric waste. They can reduce material costs by up to 15-20%.
Fixing uneven seams or puckering fabric
Uneven seams or puckering can happen if the fabric shifts while sewing. To fix this, unpick the seam with a seam ripper and sew it again, keeping the fabric taut. Use pins or clips to hold the fabric in place. Practicing on scrap fabric can help you avoid this issue in the future.
"A survey by the Furniture Industry Research Association found that 30% of DIY upholstery projects face issues due to measurement errors."
Beginner-Friendly Tips
Practicing on scrap fabric before starting
If you’re new to sewing, practice on scrap fabric first. This helps you get comfortable with your sewing machine or hand-stitching techniques. Even small projects, like making a scrunchie, can boost your confidence. Plus, it’s a great way to use leftover fabric creatively.
Using washable markers for fabric markings
Washable markers are a beginner’s best friend. They let you mark cutting lines and sewing guides without worrying about permanent stains. Just test the marker on a small piece of fabric first to ensure it washes out completely.
Caring for Your Chair Covers
Washing and maintaining your covers
Regular cleaning keeps your chair covers looking fresh and extends their life by up to 30%. Wash them according to the fabric’s care instructions. Avoid harsh detergents, and always air-dry or use a low-heat setting to prevent shrinkage.
Storing covers to keep them in good condition
When not in use, store your chair covers in a cool, dry place. Fold them neatly to avoid creases. Proper storage prevents mold growth, which can reduce the lifespan of your covers by up to 80%.
Pro Tip: Reupholster a dining chair with durable fabric to ensure it withstands daily use and frequent cleaning.
Making your own chair covers is easier than you might think. You’ve learned how to measure, cut, sew, and add finishing touches to create a perfect fit. Whether you’re looking to reupholster dining chair covers or give your chairs a fresh look, this process saves money and lets you customize your furniture.
Experimenting with different fabrics and designs opens up endless possibilities. The right fabric not only enhances durability and comfort but also adds a personal touch to your space. Plus, it’s a great way to stay within budget while reducing environmental impact.
So, why not try it out? Grab some fabric, follow these steps, and see how to reupholster a chair in your own unique style. Your chairs will thank you! 😊
FAQ
How much fabric do I need for a chair cover?
You’ll need about 1 to 2 yards of fabric per chair, depending on its size and design. Measure carefully and add extra for seam allowances or mistakes. Always check the fabric width before purchasing.
Can I make chair covers without a sewing machine?
Yes, you can sew by hand! Use a strong needle and durable thread. It takes more time but works well for simple designs. Practice on scrap fabric first to get comfortable with hand-stitching techniques.
What’s the best fabric for chair covers?
Cotton and polyester blends are great choices. They’re durable, easy to clean, and affordable. For a more luxurious look, try velvet or linen. Always pick a fabric that matches your style and daily use needs.
How do I fix a chair cover that doesn’t fit?
If it’s too tight, let out the seams slightly. For a loose fit, sew closer to the edges to tighten it. Double-check your measurements before cutting fabric to avoid this issue in future diy upholstery projects.
Can I wash my chair covers in a machine?
Most chair covers are machine washable, but always check the fabric care label. Use a gentle cycle and mild detergent. Air-dry or use low heat to prevent shrinkage and keep the fabric looking fresh.

